Why Your Camp Coffee Is Always Too Cold

Using Low-Quality Insulated Mugs
Neglecting the Pre-Heat Step
The Problem with Thin Ceramic
Brewing in High Wind Conditions
You will learn exactly why your morning coffee loses heat too quickly in outdoor environments and how to fix your gear, technique, and temperature management to ensure a hot cup every time. This guide covers the physics of heat loss in the wild, from inadequate vessel insulation to the common mistakes made when using portable stoves. By the end of this post, you will have a checklist of specific tools and methods to keep your caffeine hot from the first sip to the last.
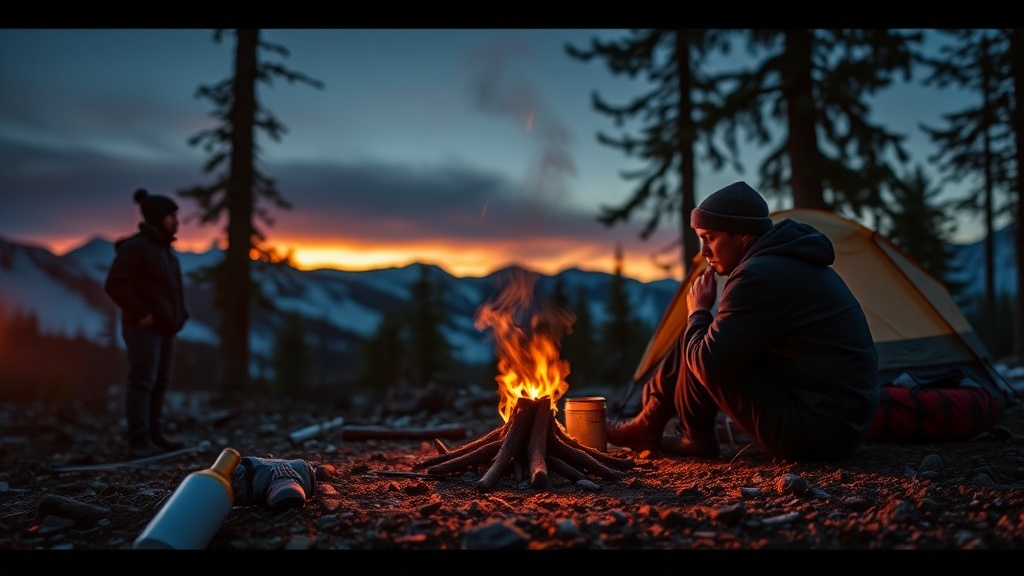
The Problem of Ambient Temperature and Heat Transfer
The primary reason your coffee cools down rapidly is the massive temperature differential between your beverage and the surrounding air. In a kitchen, the ambient temperature might be 70°F, but when you are camping in the high desert of Moab or the mountains of the Cascades, the air temperature can drop to 35°F or lower overnight. This steep gradient accelerates heat transfer through three main methods: conduction, convection, and radiation.
Conduction occurs when your hot mug touches a cold surface, such as a metal camp table or a frozen wooden bench. Convection happens as the air moves across the surface of your liquid, carrying heat away. Radiation is the loss of heat through the walls of your vessel. If you are not accounting for all three, your coffee will be lukewarm before you even finish your first breakfast task.
Your Vessel Is Not Insulated Enough
The most common mistake is using a standard ceramic mug or a single-walled stainless steel cup. While these are lightweight and easy to pack in a van or a backpack, they offer zero thermal resistance. A single-walled metal cup acts as a heat sink, drawing the warmth out of the liquid and transferring it directly to your hands and the air.
To solve this, you must switch to double-walled vacuum insulation. Look for products like the YETI Rambler or the Stanley Classic series. These vessels create a vacuum between two walls of stainless steel, which virtually eliminates heat transfer via conduction and convection. If you prefer a more traditional aesthetic, a high-quality ceramic mug inside a Hydro Flask insulated sleeve can also provide a significant buffer.
If you are using a lightweight setup for backpacking, look for titanium mugs with silicone sleeves. While titanium is a poor insulator compared to vacuum-sealed steel, the silicone sleeve provides a crucial layer of protection against conductive heat loss to your hands and the environment. However, for car camping or van life, the vacuum-sealed steel option remains the gold standard for heat retention.
The Pre-Heating Neglect
Most campers make the mistake of pouring boiling water directly into a cold mug. This is a fundamental error in thermal management. When 200°F water hits a 40°F mug, the vessel immediately absorbs a significant portion of the water's thermal energy to bring the mug's material up to temperature. This results in an instant drop in the coffee's temperature before you even take a sip.
The solution is a simple two-step pre-heating process:
- Boil excess water: Use your camp stove to boil a small amount of water first.
- Prime the vessel: Pour the hot water into your empty mug and let it sit for 60 to 90 seconds. This warms the interior walls of the vessel.
- Discard and brew: Dump the warming water out and immediately add your coffee grounds or tea.
This technique ensures that the energy from your boiling water is used to brew your drink rather than fighting the thermal mass of a cold container. If you are using a French Press, this step is even more critical, as the glass carafe can act as a major heat sink if not pre-warmed.
Improper Water Temperature and Brewing Methods
The method you use to brew your coffee dictates the starting temperature of the liquid. If you are using a standard pour-over method with a lightweight stove, you might be underestimating how quickly the water temperature drops once it leaves the kettle. If your water temperature is only 190°F instead of the ideal 205°F, you have less "thermal headroom" before the coffee becomes unpalatable.
When camping, you should aim for a higher starting temperature to compensate for the inevitable heat loss. If you are using a Jetboil or a similar integrated stove system, be aware that these are designed to boil water extremely fast, but the water can actually drop in temperature quickly once the heat source is removed. If you are using a more traditional setup, make sure you stop letting your camp stove run out of fuel mid-meal by ensuring you have enough propane or white gas to maintain a steady boil during the entire brewing process.
For those who want the hottest possible coffee, consider an AeroPress. It is a pressure-based brewer that allows you to control the temperature more precisely and is much more robust for travel. Because it is made of durable, thick plastic, it retains heat better than thin metal pour-over drippers during the brewing process itself.
Environmental Factors and Placement
Where you place your coffee matters as much as the cup you put it in. If you set your mug directly on a metal camp table or a stone countertop, the heat will be sucked out through the bottom of the cup via conduction. This is especially common when setting up camp on granite surfaces in the Sierras or metal folding tables at a developed campground.
To mitigate this, use a dedicated coaster or a small piece of wood. Even a folded cloth or a silicone tripod can create a thermal break between your mug and the cold surface. Additionally, avoid placing your coffee in a direct wind path. Even a light breeze can significantly increase the rate of evaporative cooling. If you are sitting at a picnic table, try to position yourself behind a windbreak, such as your van, a tent, or a large cooler, to create a small pocket of still air.
If you find that your water temperature or stove performance is also an issue, you might want to check why your camp water tastes like plastic, as certain water chemistries can also affect how you perceive the temperature and flavor of your brewed drinks. However, the primary culprit for temperature loss is almost always the physical environment and your gear choices.
The Lid Factor: The Missing Piece of the Puzzle
The single greatest source of heat loss in a hot beverage is evaporation through the top of the cup. If you are drinking from an open mug, you are losing a massive amount of thermal energy to the air through steam. This is why a coffee that feels hot in your hand can feel lukewarm on your tongue; the surface temperature of the liquid is much lower than the center due to evaporation.
Always use a vessel with a secure, tight-fitting lid. A Stanley thermos with a screw-top lid or a YETI tumbler with a splash guard will keep the steam trapped inside the vessel, forcing the heat to stay within the liquid. If you prefer a traditional mug, invest in a silicone or stainless steel lid designed to fit over the rim. This small addition can extend the "hot window" of your coffee by 15 to 20 minutes.
Summary Checklist for Hot Camp Coffee
To ensure you never have to settle for a cold cup of coffee in the middle of the woods again, follow this checklist every morning:
- Use Vacuum-Insulated Gear: Ditch the single-walled metal or ceramic for double-walled stainless steel.
- Pre-Heat Your Vessel: Always rinse your mug with boiling water before adding coffee.
- Use a Lid: Never drink from an open-top vessel if you want to maintain temperature.
- Create a Thermal Break: Never place a hot mug directly on a cold or metal surface.
- Watch the Wind: Position your brewing station in a sheltered area to prevent evaporative cooling.
By implementing these technical adjustments, you can enjoy a high-quality, hot cup of coffee regardless of whether you are camping in a temperate forest or a high-altitude desert. Proper thermal management is a skill that pays dividends every single morning.