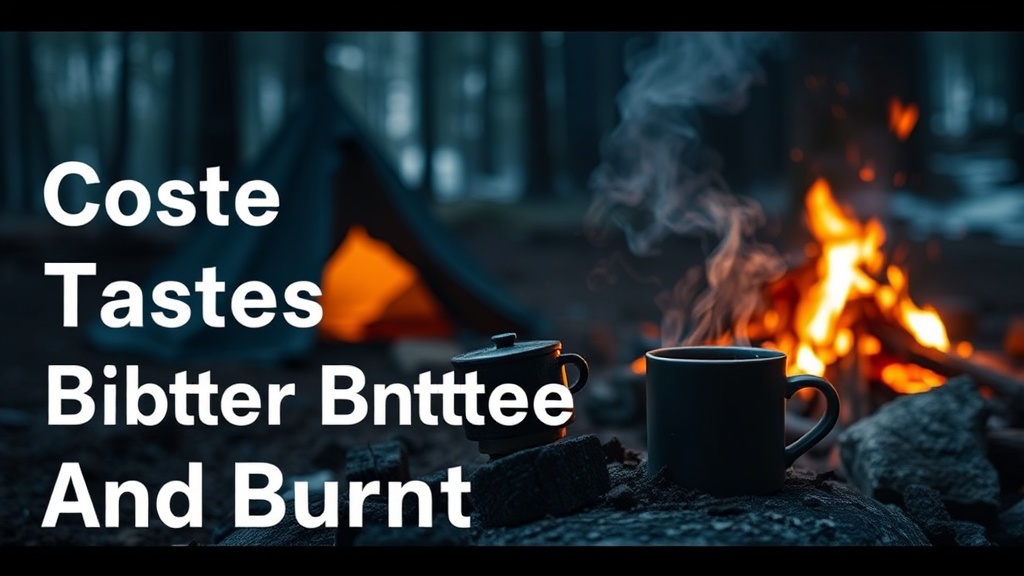
Why Your Camp Coffee Tastes Bitter and Burnt
Water Temperature Is Too High
Using Pre-Ground Coffee That Is Too Old
Your Grind Size Is Incorrect
Over-Extraction From Long Steep Times
The Quality of Your Camp Water
Most campers assume that a bitter cup of coffee is simply the price of admission for being outdoors. You likely believe that if you want high-quality caffeine while living out of a van or a travel trailer, you have to sacrifice flavor for convenience. This is a misconception. That harsh, burnt taste isn't a result of your coffee beans or your location; it is almost always a direct result of your brewing technique and the equipment you are using in the field. Understanding these variables will ensure your morning ritual is a highlight of your road trip rather than a chore to endure.
When you are camping, you are dealing with variables that don't exist in a controlled kitchen: fluctuating water temperatures, inconsistent heat sources, and limited gear. This guide breaks down the five most common reasons your coffee tastes like ash and provides the technical adjustments needed to fix them.
1. Using Water That Is Too Hot
The most frequent culprit of a burnt flavor profile is water temperature. If you are using a standard camp stove like a Jetboil or a single-burner Coleman gas stove, it is very easy to let the water reach a rolling boil. While a boil looks impressive, water that is at 212°F (100°C) is actually too aggressive for most coffee grounds. When water that hot hits the coffee, it "scalds" the grounds, extracting tannins and bitter compounds that should stay trapped in the bean. This results in that unmistakable scorched taste.
To fix this, you need to aim for a temperature between 195°F and 205°F. If you don't have a digital thermometer in your camping kit, use the "off-the-boil" method. Once your water reaches a full boil, remove the pot from the heat source and let it sit for approximately 30 to 60 seconds before pouring it over your grounds. This brief pause allows the temperature to drop into the ideal extraction window without requiring extra gear.
2. Over-Extraction from Improper Grind Size
Coffee extraction is a mathematical process. If your coffee grounds are too fine, the water travels through them too quickly or gets "stuck," leading to over-extraction. Over-extraction is the technical term for when the water has pulled too much out of the bean, specifically the bitter, astringent chemicals. If you are using a French Press but your coffee is ground to a fine powder (like the consistency of table salt), you will end up with a muddy, bitter cup.
For camping, your grind size must match your specific brewing device:
- French Press: Use a coarse grind, similar to sea salt.
- AeroPress: Use a medium-fine grind, similar to table salt.
- Pour-over (like a Hario V60): Use a medium grind, similar to granulated sugar.
If you are using a manual hand grinder, such as a Timemore C3 or a Porlex Mini, ensure you are being consistent. Inconsistent grind sizes mean some particles will be under-extracted (sour) while others are over-extracted (bitter), creating a confusing and unpleasant flavor profile.
3. Using Low-Quality or Stale Beans
The environment of a vehicle or a tent is often the enemy of fresh coffee. Heat, light, and oxygen are the three things that destroy coffee oils. If you keep your coffee bag sitting on the dashboard of your van or near your camp stove, the heat is actively degrading the beans. Once the oils in the coffee go rancid, the resulting brew will taste bitter and "flat" regardless of how well you brew it.
To maintain quality during a long road trip, follow these storage rules:
- Store in airtight containers: Move your beans from the original bag into a vacuum-sealed canister or a reusable Fellow Atmos container.
- Keep it cool: Do not store coffee in your pantry if your van's interior temperature is spiking during the day. A dark, cool corner of your storage bin is better.
- Buy whole beans: If you have the space, bring a small hand grinder. Grinding right before you brew protects the volatile aromatics from the elements.
If you are traveling through high-altitude areas like the Rocky Mountains, remember that water boils at a lower temperature at higher elevations. You may need to adjust your brewing time slightly to compensate for the lower thermal energy in your water.
4. Poor Water Quality
Coffee is roughly 98% water. If your water tastes bad, your coffee will taste bad. Many campers rely on water from a local stream or a public tap at a trailhead, which may contain high levels of minerals or chlorine. High mineral content (hard water) can prevent the water from effectively absorbing the flavors of the coffee, while chlorine or sulfur smells will pass directly into your cup.
For the best results, use filtered or bottled water. If you are using a water filtration system like a Sawyer Squeeze, remember that while it removes bacteria and protozoa, it does not remove dissolved minerals or chemicals. For the cleanest taste, use a dedicated water jug filled with spring water or filtered water from a reliable source. This ensures that the only flavor you are tasting is the coffee itself, not the local geology.
5. Improper Ratio of Coffee to Water
Many people brew coffee by "eye-balling" it—adding a few scoops of coffee to a mug and filling the rest with water. This lack of precision is a recipe for failure. If you use too little coffee relative to the amount of water, the coffee will be weak and watery. To compensate, people often let the coffee sit on a heat source longer, which leads to the burnt taste. Conversely, if you use too much coffee, the water cannot effectively extract the pleasant flavors, leaving you with a heavy, bitter sludge.
The "Golden Ratio" for most coffee enthusiasts is 1:15 or 1:17. This means for every 1 gram of coffee, you use 15 to 17 grams of water. Since you likely don't want to carry a digital scale on every hiking trip, use a standard measuring spoon system. A reliable rule of thumb for a standard 12oz mug is approximately two level tablespoons of coffee per 6oz of water. Consistency is key; if you find your coffee is too bitter, try slightly reducing the amount of coffee or increasing the water slightly in your next brew.
"Precision in the field is the difference between a mediocre morning and a great one. Don't let a lack of tools stop you from having a high-quality experience."
While you are focusing on your morning routine, ensure your other camp essentials are also performing correctly. For example, if you are struggling with temperature regulation in your living space, you might want to read about why your camp mattress feels like sleeping on the ground to ensure your sleep quality matches your coffee quality. Similarly, if you are managing your resources carefully, check out our guide on how to stop wasting battery with your camp fridge to keep your milk and water at the right temperature.
Summary Checklist for Better Camp Coffee
Before you start your next brew, run through this quick checklist to ensure you avoid the bitter trap:
- Temperature: Did I let the water sit for 60 seconds after boiling?
- Grind: Is my grind size appropriate for my device (e.g., coarse for French Press)?
- Storage: Is my coffee stored in an airtight, cool container away from heat?
- Water: Am I using filtered or spring water rather than untreated tap or stream water?
- Ratio: Am I using a consistent measurement (e.g., 2 tablespoons per 6oz of water)?
By controlling these five variables, you can move away from the "burnt and bitter" standard of camp coffee and move toward a professional-grade experience, even when you are miles away from a kitchen.